How to App Register in Microsoft Graph on Azure Portal
App Registration with Microsoft Graph App on Azure Portal | Create a Microsoft Entra application and service principal that can access resources.
In this article, you'll learn how to create a Microsoft Entra application and service principal that can be used with the role-based access control. When you register a new application in Microsoft Entra ID, a service principal is automatically created for the app registration.
Why are we creating this App in Microsoft Azure Portal
This "App Registration" is going to be created for accessing the Office 365 & Outlook MAILs via Microsoft Graph API using the HTTP Requests.
Application registration on the Microsoft Azure portal.
Step 1: Microsoft Azure portal
Go to the Microsoft Azure portal at https://portal.azure.com/ and sign in with your Microsoft Azure account.
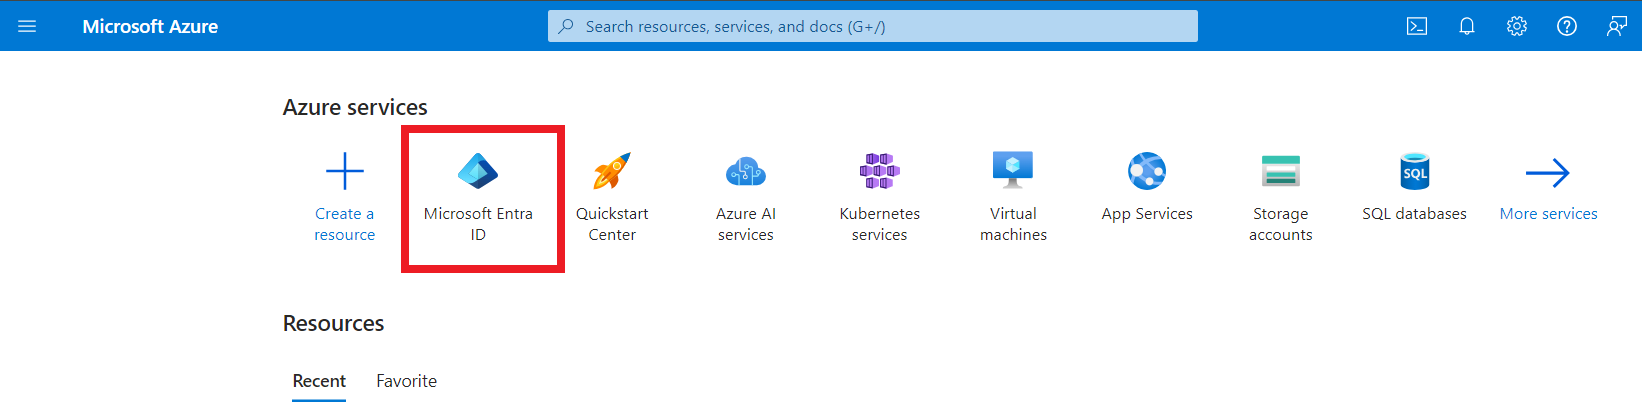
Step 2: Azure services
Under Azure Services select or open "Microsoft Entra ID" as shown below:
Step 3: App Registration
- Once "Microsoft Entra ID" is opened, click on "App Registration" from the sidebar and then click on "New Registration" button to register the application.

- Register the application as shown in Image:

- Once all the field are updated then click on "Register" Button to create the App.
When registration finishes, it will automatically redirect & displays the Created "Registered App" Overview pane as shown in below image.
Step 4: Create a "Client Secret" for the application
- Under Manage on the left side menu, select Certificates & secrets.
- On the Certificates & secrets page that opens, select Client secrets, and click "New client secret" button as shown in below image.
In the dialog that appears, provide a Description for the new secret, select the period after which the secret expires, and then click Add.
- Copy the secret value and make sure to save it somewhere to access it later because the secret will not be accessible after you proceed from here as shown in below image.

Note: Copy the secret value on that step because it will not be accessible after you proceed from here.
Step 5: Assign permissions to access via Microsoft Graph
- Under Manage, on the left side menu, select API permissions.
- On the API permissions page that opens, click Add permission.

- On the Request API permissions window that appears, click "Microsoft Graph" box as shown below with Bolder Border.

- Click Application permissions.

- After selecting "Delegated Permissions" as shown in above image, then Select the multiple permissions by searching from the search box as shown in below image.

- These are the list of permissions I have added, these permission will help you to get the ms outlook mail functionality.

Step 6: Finally, we have completed with the Creating Microsoft Graph App with permissions.
Now we are ready to use the Microsoft Graph API for Office 365 and Outlook Mails.
Please get these Details from the above following steps:
- Application ID (Client ID): 1a98aec6-XXX-XXXX-XXXX-XXXXXXXXXXX
- Client Secret: Fj~XQ~XXX_XXXXXXXXXXXXXXXXXX
- Redirect URI: https://www.fundaofwebit.com/msgraph/auth/microsoft/callback
- Directory ID (Tenant ID): common (This is default) else copy from the App: f8XXXX31-XXXX-XXXX-XXXX-XXXXXXXXX
That's it guys, so now we are good to start with Microsoft Graph API tutorial to get MAILs, read, composer, drafts, attachments, etc.
Lets continue in the Next Post, how to use this Microsoft Graph API in Laravel Application with HTTP Requests.
I hope this helps you.